Using BitBucket’s Mercurial Service with TurboGears
BitBucket is a service used heavily by the TurboGears team. It stores the current copy of the TurboGears code that is in development, and makes it easier for the developers to collaborate on changes. It allows for very large changes to be done safely, in a sandbox, without affecting the main development tree.
It does all this by using a new type of version control system called a distributed version control system. In BitBucket’s case, this distributed version control system is named Mercurial. An entire book has been written on using Mercurial. The Mercurial website has many examples to show what you can do.
For our needs, though, the actual bits that you need to know for BitBucket and Mercurial are small and easy. By the end of this tutorial, you should be able to do the following items easily:
- Fork a project on BitBucket
- Make your local clone of your project
- Make changes to your local clone.
- Commit your changes.
- Push your changes back to BitBucket
- Notify the upstream maintainer of your changes, to get them included
- Keep your local fork up to date
All of that sounds like a lot, but you’d be surprised how easy it really is.
Signup For Free Account
First, sign up for one of the free accounts on BitBucket. Since this could change in future, I’m not including links or descriptions. If they ever make it genuinely difficult, we’ll revisit this section.
Fork A Project
So, now you need to fork a project. You can always fork one of the TurboGears projects, but that is a bit of overkill when learning how to use BitBucket. Instead, we’ve made a small repository especially for this purpose.
Open https://bitbucket.org/pedersen/tg_bitbucket_tut/ in your browser. You should get a screen that looks like this:
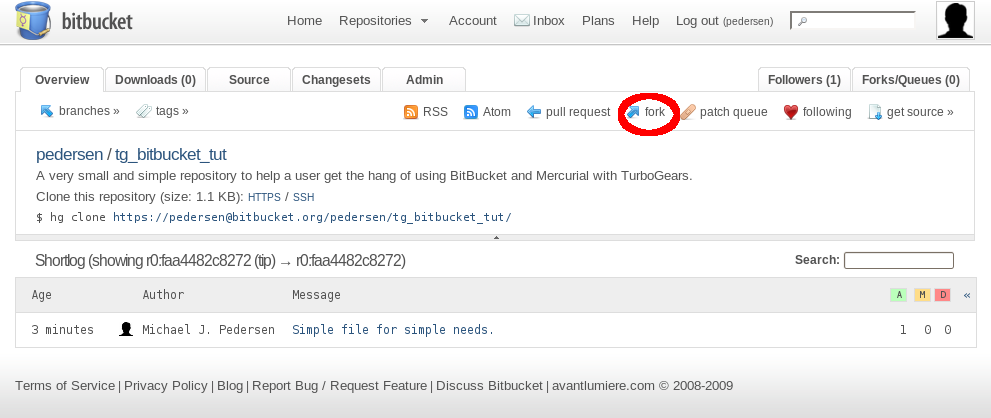
Click the “Fork Link”, and give your new copy a name, description, and finally hit submit. A few moments later, you will have a forked copy of the project with which you can work.
Make Your Local Clone
Now that you have your fork, you need to copy it to your machine. Fortunately, BitBucket even tells you the command to use to download it. Just follow the onscreen command, and do so.
Make Changes To Your Local Clone
Using your favorite editor, we’re going to make a few changes. First, view the file README. A very simple file, right? Well, the name isn’t so great. Let’s rename it to have a useful extension:
hg mv README README.txt
That will rename the file to a nicer name.
Note that we have a file named “deleteme.txt”. Let’s see how to delete the file next:
hg rm deleteme.txt
The file is now removed. We can always go back in time and retrieve the file (that is, after all, the point of any version control system), but it won’t be present in future unless we take steps to make it present.
Use your favorite text editor, and change the contents of the README.txt file. Add in the following at the bottom of the file:
Mercurial is neat. Nice and simple, but gets the job done very well.
Finally, we need to add a file. Make a new file in the directory named “added_stuff.txt”, and put the following into the file:
Just some random text to stuff in a file, so we can add a file into the
Mercurial tree.
Having made the file, we now need to tell Mercurial to track the file. This is done with the following command:
hg add added_stuff.txt
Now, with all of those file operations done, how do we store our work into the repository? See the next section.
Commit Your Changes
Saving your changes to your local repository is accomplished via a simple command.
hg commit
This will bring up an editor. Type up a commit message, describing the changes, and why you made them. You’ll like having them around later, when you start looking at the Mercurial logs.
That’s all of it. That’s the basic day to day operations of storing all your changes in your local copy. However, that does not cover sharing those changes with the world. All your changes are still on your machine.
Push Your Changes To BitBucket
Now it’s time to publish your changes. You’ve been working on them for a while, have been making commits to make sure you could always roll back to an earlier time, and your work is finally ready to take on the world. Sending those changes up to BitBucket is very easy. You run this command:
hg push
Your changes will now be visible in your repository on BitBucket. You can tell other people to fork your repository, and in general share your work. Frequently, though, you want to do more. If you’ve forked someone else’s project, you want your changes included in their project. The next section talks about doing just that.
Notify The Upstream Maintainer
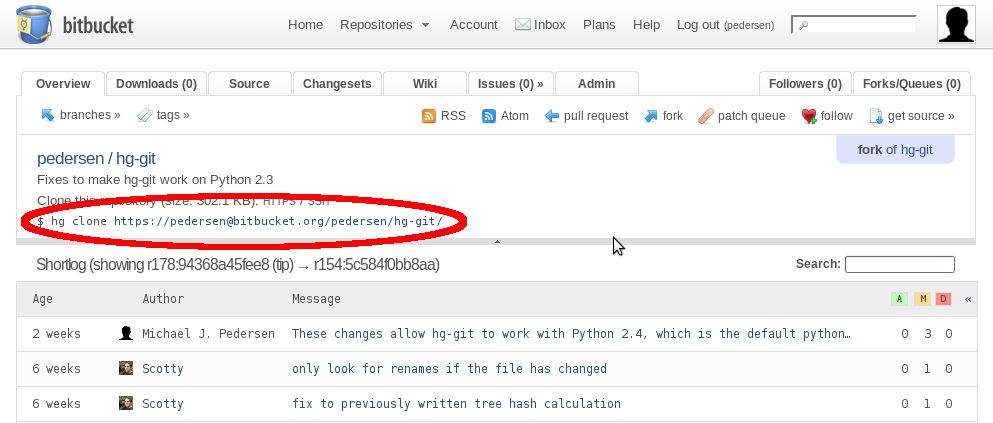
We’re back into the browser now. Visit BitBucket, and go to your project’s repository page. You will see something that looks like this:
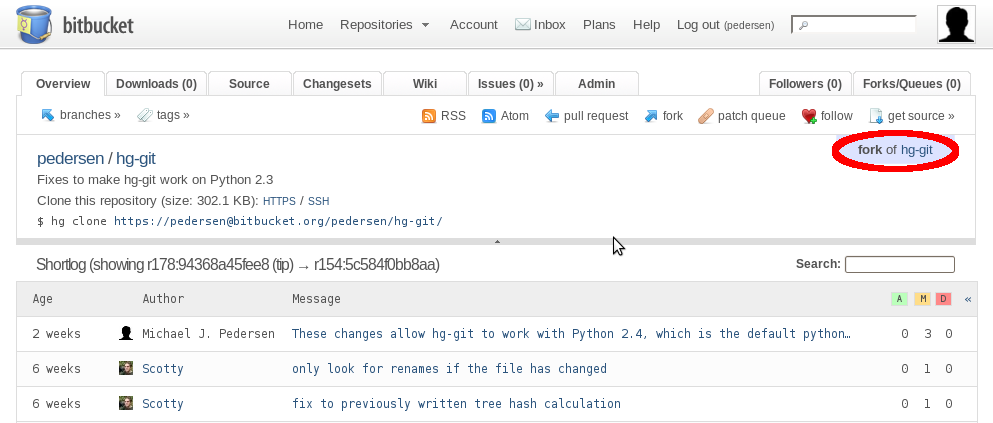
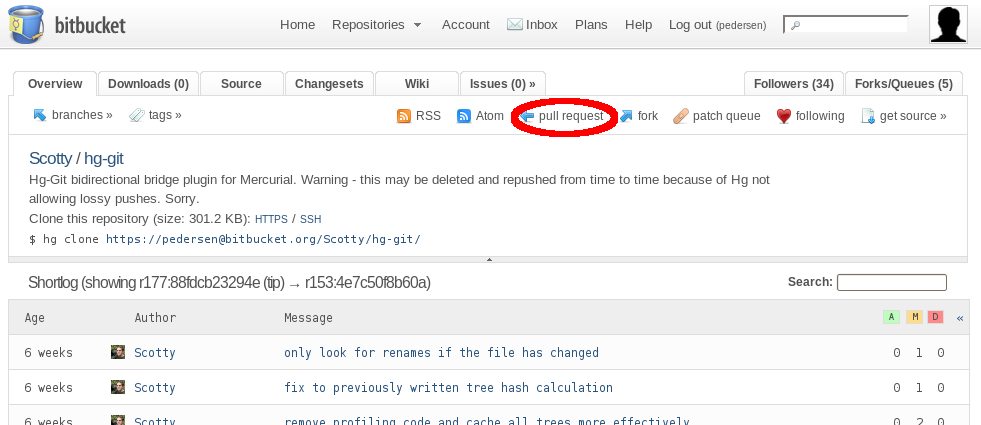
Click the “fork of” link to take you back to the original project. Once on the original project, click on “Pull Request” (see below).
Fill in the note describing your changes, check off the names of the project maintainers you wish to be notified, and change the repository to be your repository that you want the upstream maintainer to read from.
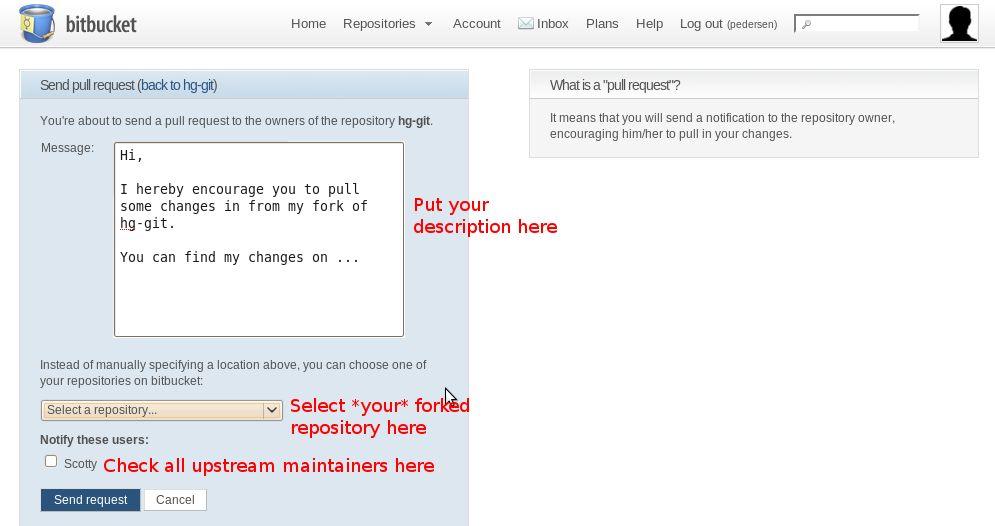
Click the “Send Request” button, and the upstream maintainer will be notified via email that you have sent in a pull request, and given your description of why they should pull from you.
When they accept it, your changes will become part of the official repository on BitBucket.
Keeping up to date
Of course, your upstream maintainer is going to be making changes, and incorporating other people’s changes too - so you want to get those periodically. You issue a pull request with the update flag for this:
hg pull -u http://bitbucket.org/pedersen/tg_2_1_docs/
Of course, this is a little bit to remember to type all the time. To make it easier, you can add an alias to an hg config file, .hg/hgrc:
pedersen = http://bitbucket.org/pedersen/tg_2_1_docs
Then, you can simply type the following, to keep up to date:
hg pull -u pedersen
That’s it in a nutshell. Mercurial offers much more than what is shown here, but this is enough to get you started. I definitely recommend you read the Mercurial book, as it will show you how to further customize Mercurial’s configuration to be exactly what you want it to be.